Wednesday 16 November 2011

Building

With all the track in place other than the industry siding I though I should start to work on building to use. Over the last few years since I last had a layout set up I have been building buildings for friends to use on there layouts and have gotten a lot better at building. I have pulled all my build building out of storage to see what can be used on the new layout. Most of my old buildings were unpainted when I put them together so I have been painting built building. This is not easy and you should always paint first, also something I have learned since the last layout.


 Here we have the Water Street Freight Terminal. Painted after building


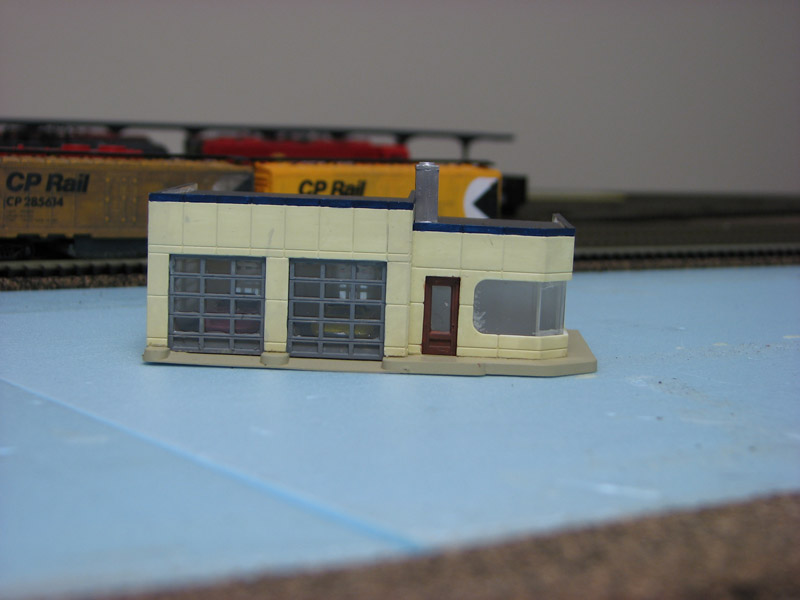
Also Al’s Victory Service had to be painted after it was built.


I wanted to have a nice big corner hotel so I had to bash to DMP kits together. I am planning to light this building and as you can see after I painted on the Blinds from the inside I painted some windows black and left some open so the light will only show through in some rooms. I think it will add to the realism of the building.


I built this small diorama for a friend. It came out so well I just hope I can do it again for my own layout.


I built the DPM Night Life kit and sold it to another friend so I will also have to rebuild this kit as well.


Sunday 13 November 2011

Ditch Lights for a N-Scale GP38

I spent some time adding ditch lights to my GP38 and thought I would show you how I did it. I got the idea from Jim Reising and how he did his SD60mac and dash 8’s. 

After taking apart the locos, I milled the frames to make room in the nose for the .03” Fiber Optics. I got it from Circuitron.


Fiber Optic cable will bend if it is heated, I learned that it bends towards the heat. I use a soldering iron and if you hold it near the light pipe (Fiber Optic Cable) about .5” away the cable begins to bend towards the heat. You don’t want to touch the cable - just get close. Once I got the first right angle bend in the cable, I fit it in a hole I drilled in the shell just under the front walkway.


I cut the bottom of the cab shade so that the cable can fit under it.


After the shade was cut, I fit it back in the cab and measured all the lengths so I could make the other bends in the pipe. The first pipe was hard because the measurements didn’t always work as well as I would have hoped. I think I wasted about a foot of cable before I got one pipe correct. After I got one pipe that fit I made others based on the first.


When I was ready to install the pipes, I took the cab off the shell and put the pipe in the holes. A small drop with a pin of CA glue will hold that pipe in place.


With the cab off the shell, it is easy to line up the pipe with the LED.


If you need to adjust the pipe in the cab you can use a fine tip soldering iron and the pipe will move towards the heat. This will help bring the pipe to the light source. To help improve the light going into the pipe, you can ball the end by touching the pipe to the soldering iron for a split second.

I used a little brass tube cut and painted black to make a cover for the pipe that stuck out the front.

  
I hope this tutorial gives you an ideas on how you can add ditch lights to your locos